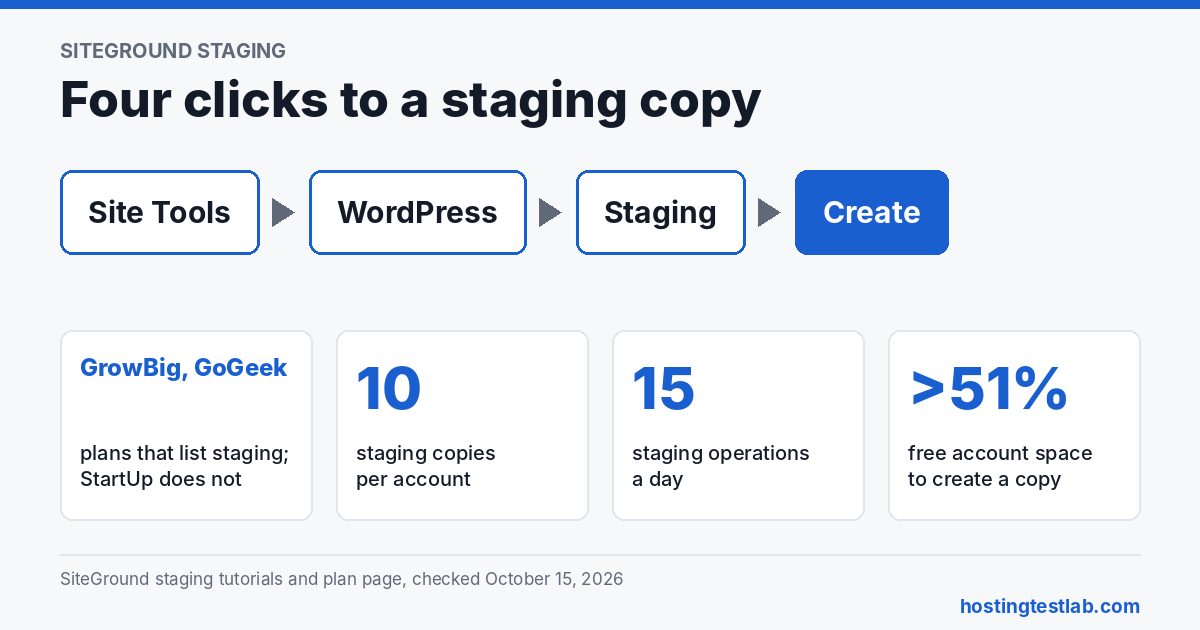
To create a WordPress staging site on SiteGround, open Site Tools, go to WordPress, then Staging, name the copy and click Create. The tool comes with the GrowBig and GoGeek plans, and StartUp does not list it. Pushing the copy live is the step that goes wrong most often, because Full Deploy replaces the live site’s files and database.
Steps and limits were checked on October 15, 2026 on SiteGround’s staging tutorials and its US plan page. The tutorials show update dates from September 2022 to June 2026, so the menu names may have moved since.
What you need before you create a staging site
You need a plan that includes staging and a WordPress site on the account. SiteGround’s plan page lists staging on GrowBig and “Staging + Git” on GoGeek, and does not list it on StartUp. GrowBig costs $59.88 for the first year against $35.88 for StartUp, which is $24.00 more, and it renews at $29.99 a month, or $359.88 a year.
SiteGround’s create-staging tutorial, updated June 30, 2026, lists the limits your account has to meet:
| Requirement | Limit |
|---|---|
| Site database size | Under 5 GB |
| Database tables | Under 500 |
| Free space in the account | More than 51% |
| Free inodes in the account | More than 20% |
| Staging environments | Up to 10 per account |
| Staging operations | Up to 15 a day |
| WordPress Multisite | Not compatible |
The free-space rule is the one that surprises people. An account with less than 51% of its space free cannot create a copy, so check your storage first. SiteGround’s deploy page, last updated in 2022, gives a 2 GB database limit, while the newer create page used here gives 5 GB.
How to create a WordPress staging site step by step
- Open Site Tools. Open Site Tools for the site in your SiteGround account.
- Go to WordPress, then Staging. Sites installed with SiteGround’s installer are already listed. If you installed WordPress manually, click Add Existing, choose the domain, enter the folder if the install is in a subfolder, and click Add. The tool supports WordPress only.
- Pick the install and name the copy. Choose the WordPress site from the drop-down and type a name in the Staging Name field. SiteGround’s example is “stagingX”, and the name becomes the subdomain.
- Click Create. If the tool finds files or folders in the root directory that are not part of a default WordPress install, it asks whether to include them. Tick the ones you need and click Confirm. With no extra files, the copy is created straight away.
- Add DNS records if your domain is elsewhere. The tool relies on subdomains. If the domain does not use SiteGround’s nameservers, add A records for stagingX and www.stagingX at your current DNS provider.
- Open the copy. Under Manage Staging Copies, open the three-dot menu for the copy and choose Log in to Admin Panel. Make your changes there, not on the live site.
Before you test anything, update WordPress core on the staging copy if it is behind the live site. SiteGround’s deploy page says that when the copy runs an older WordPress version than the live site, the push to live will not work. A newer PHP version is worth testing on the copy too, and our guide on how to update the PHP version in WordPress covers each host.
How to push staging changes to the live site
Open the three-dot menu for the copy under Manage Staging Copies and choose Full/Custom Deploy. SiteGround offers two options:
| Option | What it does | Use it when |
|---|---|---|
| Full Deploy | Replaces the live site’s files and database with the staging copy in one click | Nothing on the live site has changed since you made the copy |
| Custom Deploy | Compares the copy with the live site and lists what will be added, updated or deleted, so you choose which parts go live | The live site has new data you want to keep |
SiteGround’s own example for Custom Deploy is keeping live comments, which a full push would overwrite with the comments table from the copy. The same logic applies to anything stored in the database: orders, form entries and new posts made on the live site after you created the copy. Items you tick under To be Deleted are removed from the live site, so read that list before you confirm.
Restoring if a push goes wrong
SiteGround says it creates a backup of your live site each time you deploy a staging copy. To use it, open Site Tools, then WordPress, then Staging, select Backup under Manage Staging Copies, choose the backup by its date and hour and click Restore. Those backups restore the main site only and cannot be used to restore a staging copy.
Other things the staging tool can do
The three-dot menu also lists Replicate, Rename and Destroy. Replicate clones the current copy, so you can try a second approach without repeating the edits you already made. SiteGround notes that you cannot replicate a copy to another website with a different domain name. Destroy deletes the copy, which frees one of your 10 slots.
Is staging worth moving to GrowBig for?
For most people working out how to create a WordPress staging site on SiteGround, the plan is the real hurdle. StartUp lists no staging, and GrowBig adds it for $24.00 more in the first year and $144.00 more in each renewal year, as the SiteGround StartUp vs GrowBig comparison works out. That is worth paying for on a site that earns money or runs many plugins. A small blog that changes twice a month may not need it. For more on the plans, read the SiteGround review.
Frequently asked questions
Will a staging copy send emails or take payments twice?
SiteGround says it disables WordPress’s default cron jobs on staging copies to prevent duplicate actions such as emails or payment charges. You can re-enable them if something stops working, so check that before you test a store.
Does SiteGround staging work for Joomla or other systems?
No. SiteGround’s add-site tutorial says it offers the staging option for WordPress only.
Can I start on StartUp and add staging later?
Yes, by upgrading to GrowBig. SiteGround’s help page says the upgrade price is the difference between the regular prices of the two plans for the time left, and the billing cycle cannot change. On the rates page the 12-month standard rates differ by $12.00 a month, so an upgrade with six months left would be an estimated $72.00. That is an estimate, not a quote.